In this tutorial we’ll see how to onboard team members into LUSID, and give them the permissions they need to start exploring functionality using the example data and other learning materials provided with LUSID.
Note: This tutorial assumes you are the LUSID domain owner; that is, the person who initially applied for a trial and set up the first user account. Your LUSID user is automatically assigned the built-in lusid-administrator role, which has all the permissions necessary to perform the operations in this tutorial.
Sending an invitation to a team member
Every team member you invite gets their own LUSID user account.
There are two types of LUSID user, personal and service. They have slightly different characteristics and are recommended for different use cases.
You should set up a new personal user account for a human being. A personal user can interact with LUSID either via the graphical web app or by calling the API directly. Note that every operation performed in the web app calls the API under-the-hood anyway.
To invite a team member:
Sign in to the LUSID web app for your domain using your LUSID administrator credentials.
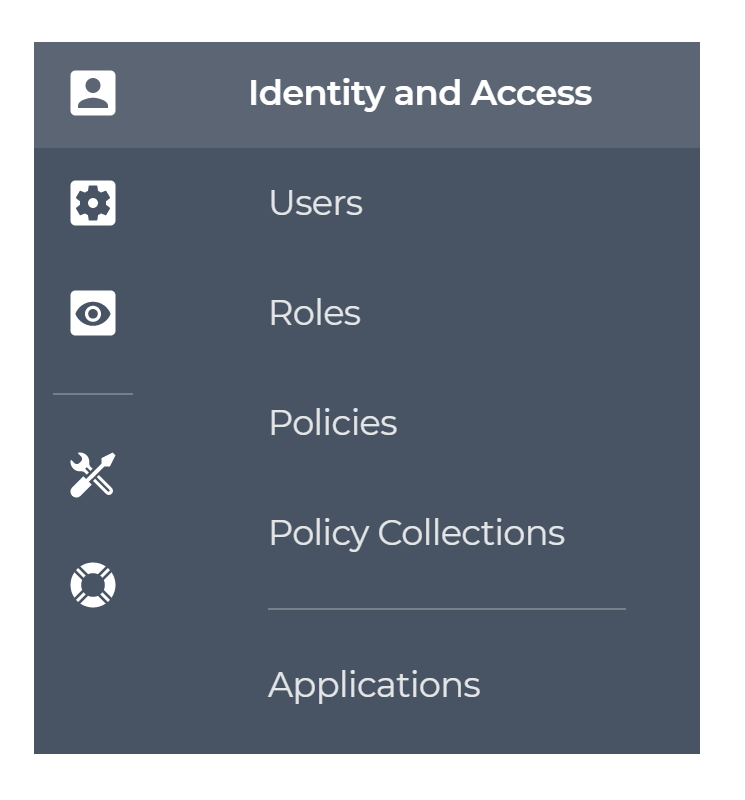
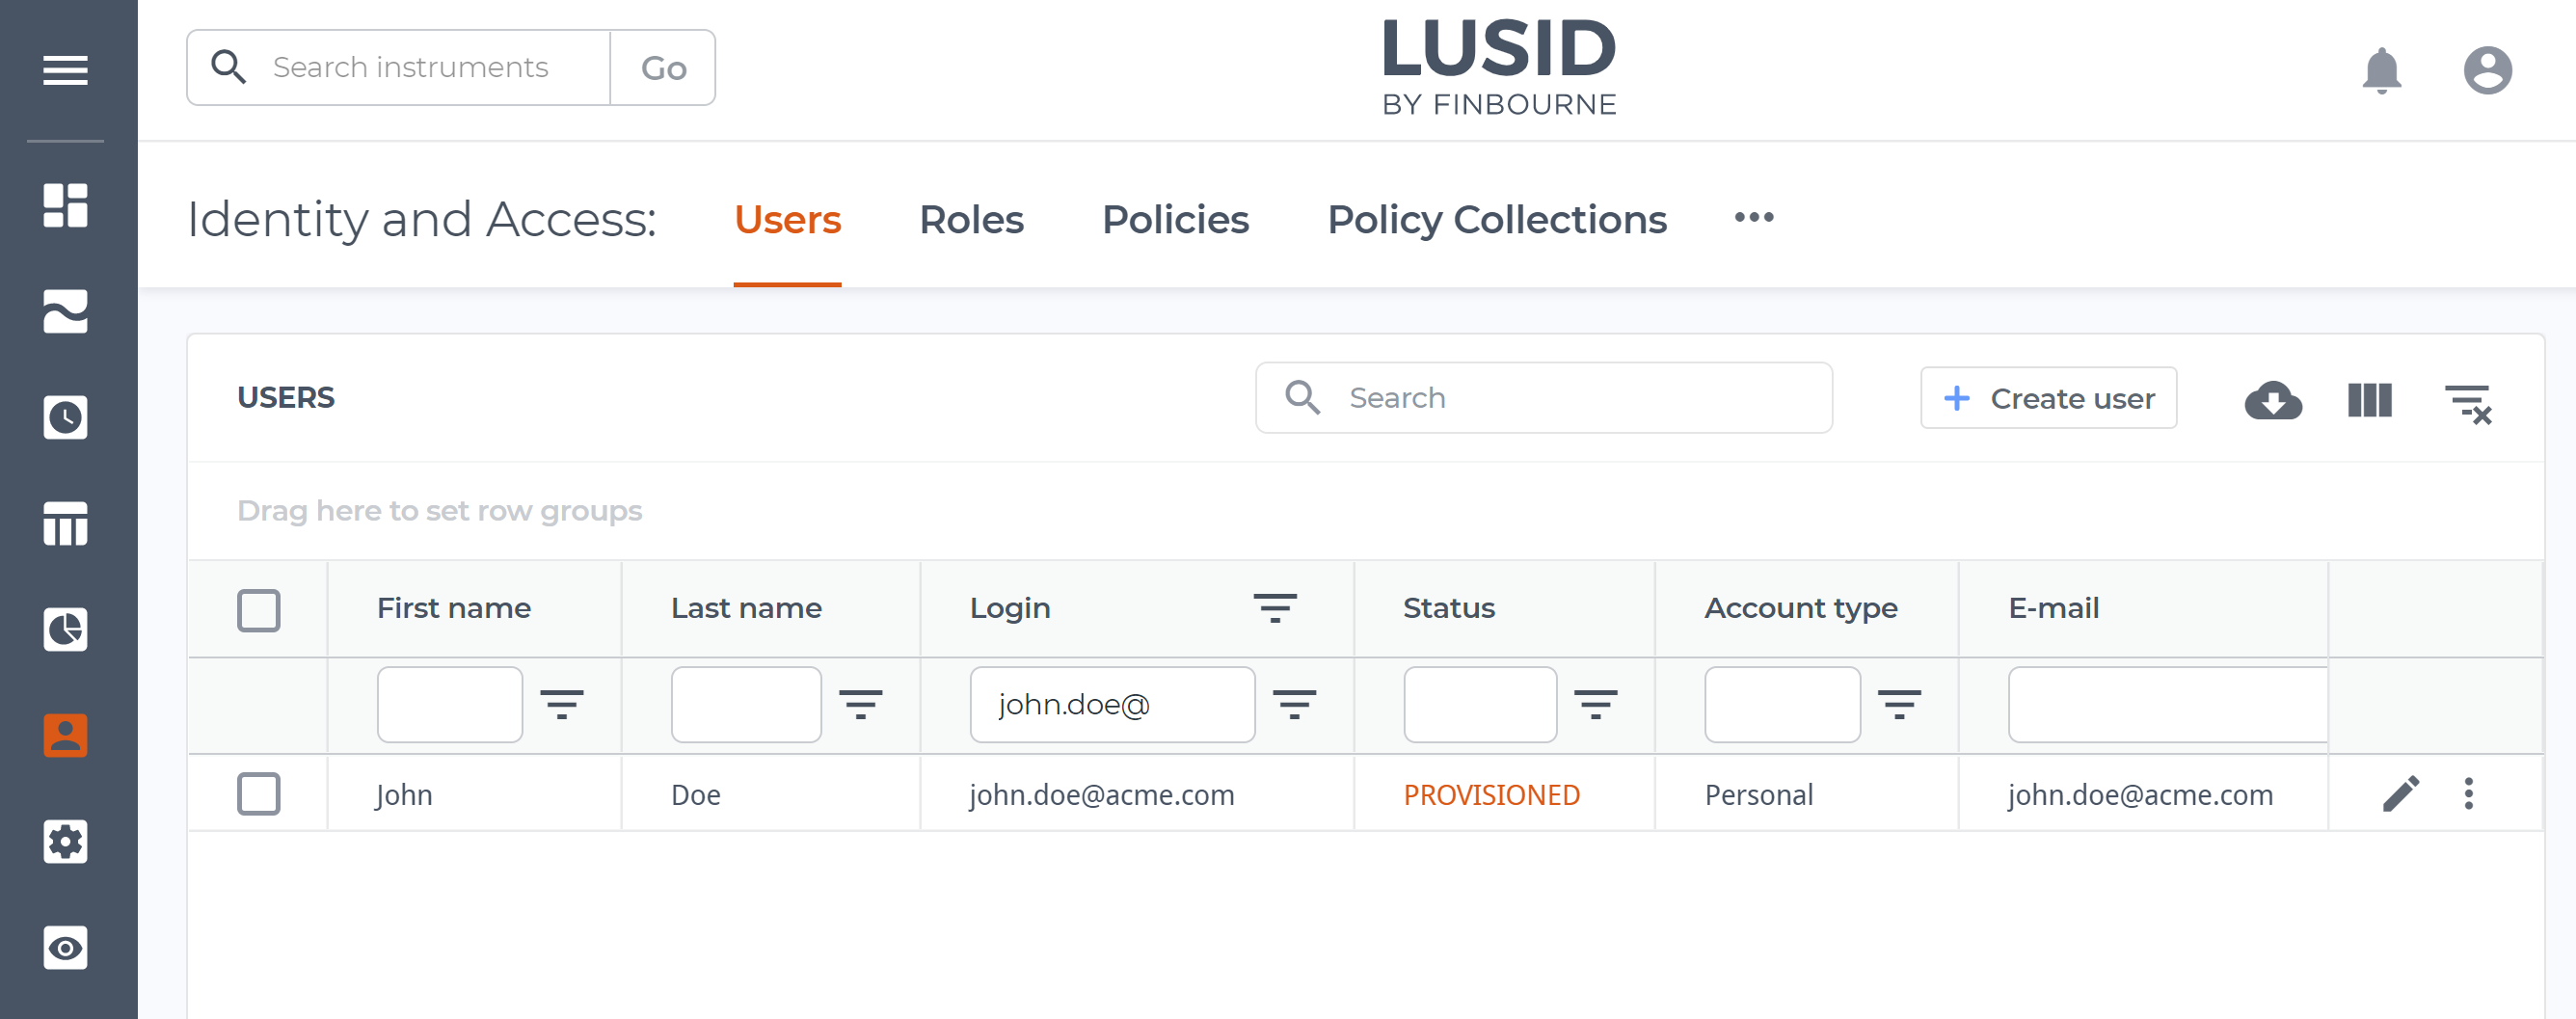
From the left-hand menu, select Identity and access > Users:
On the Users dashboard, click the Create user button:

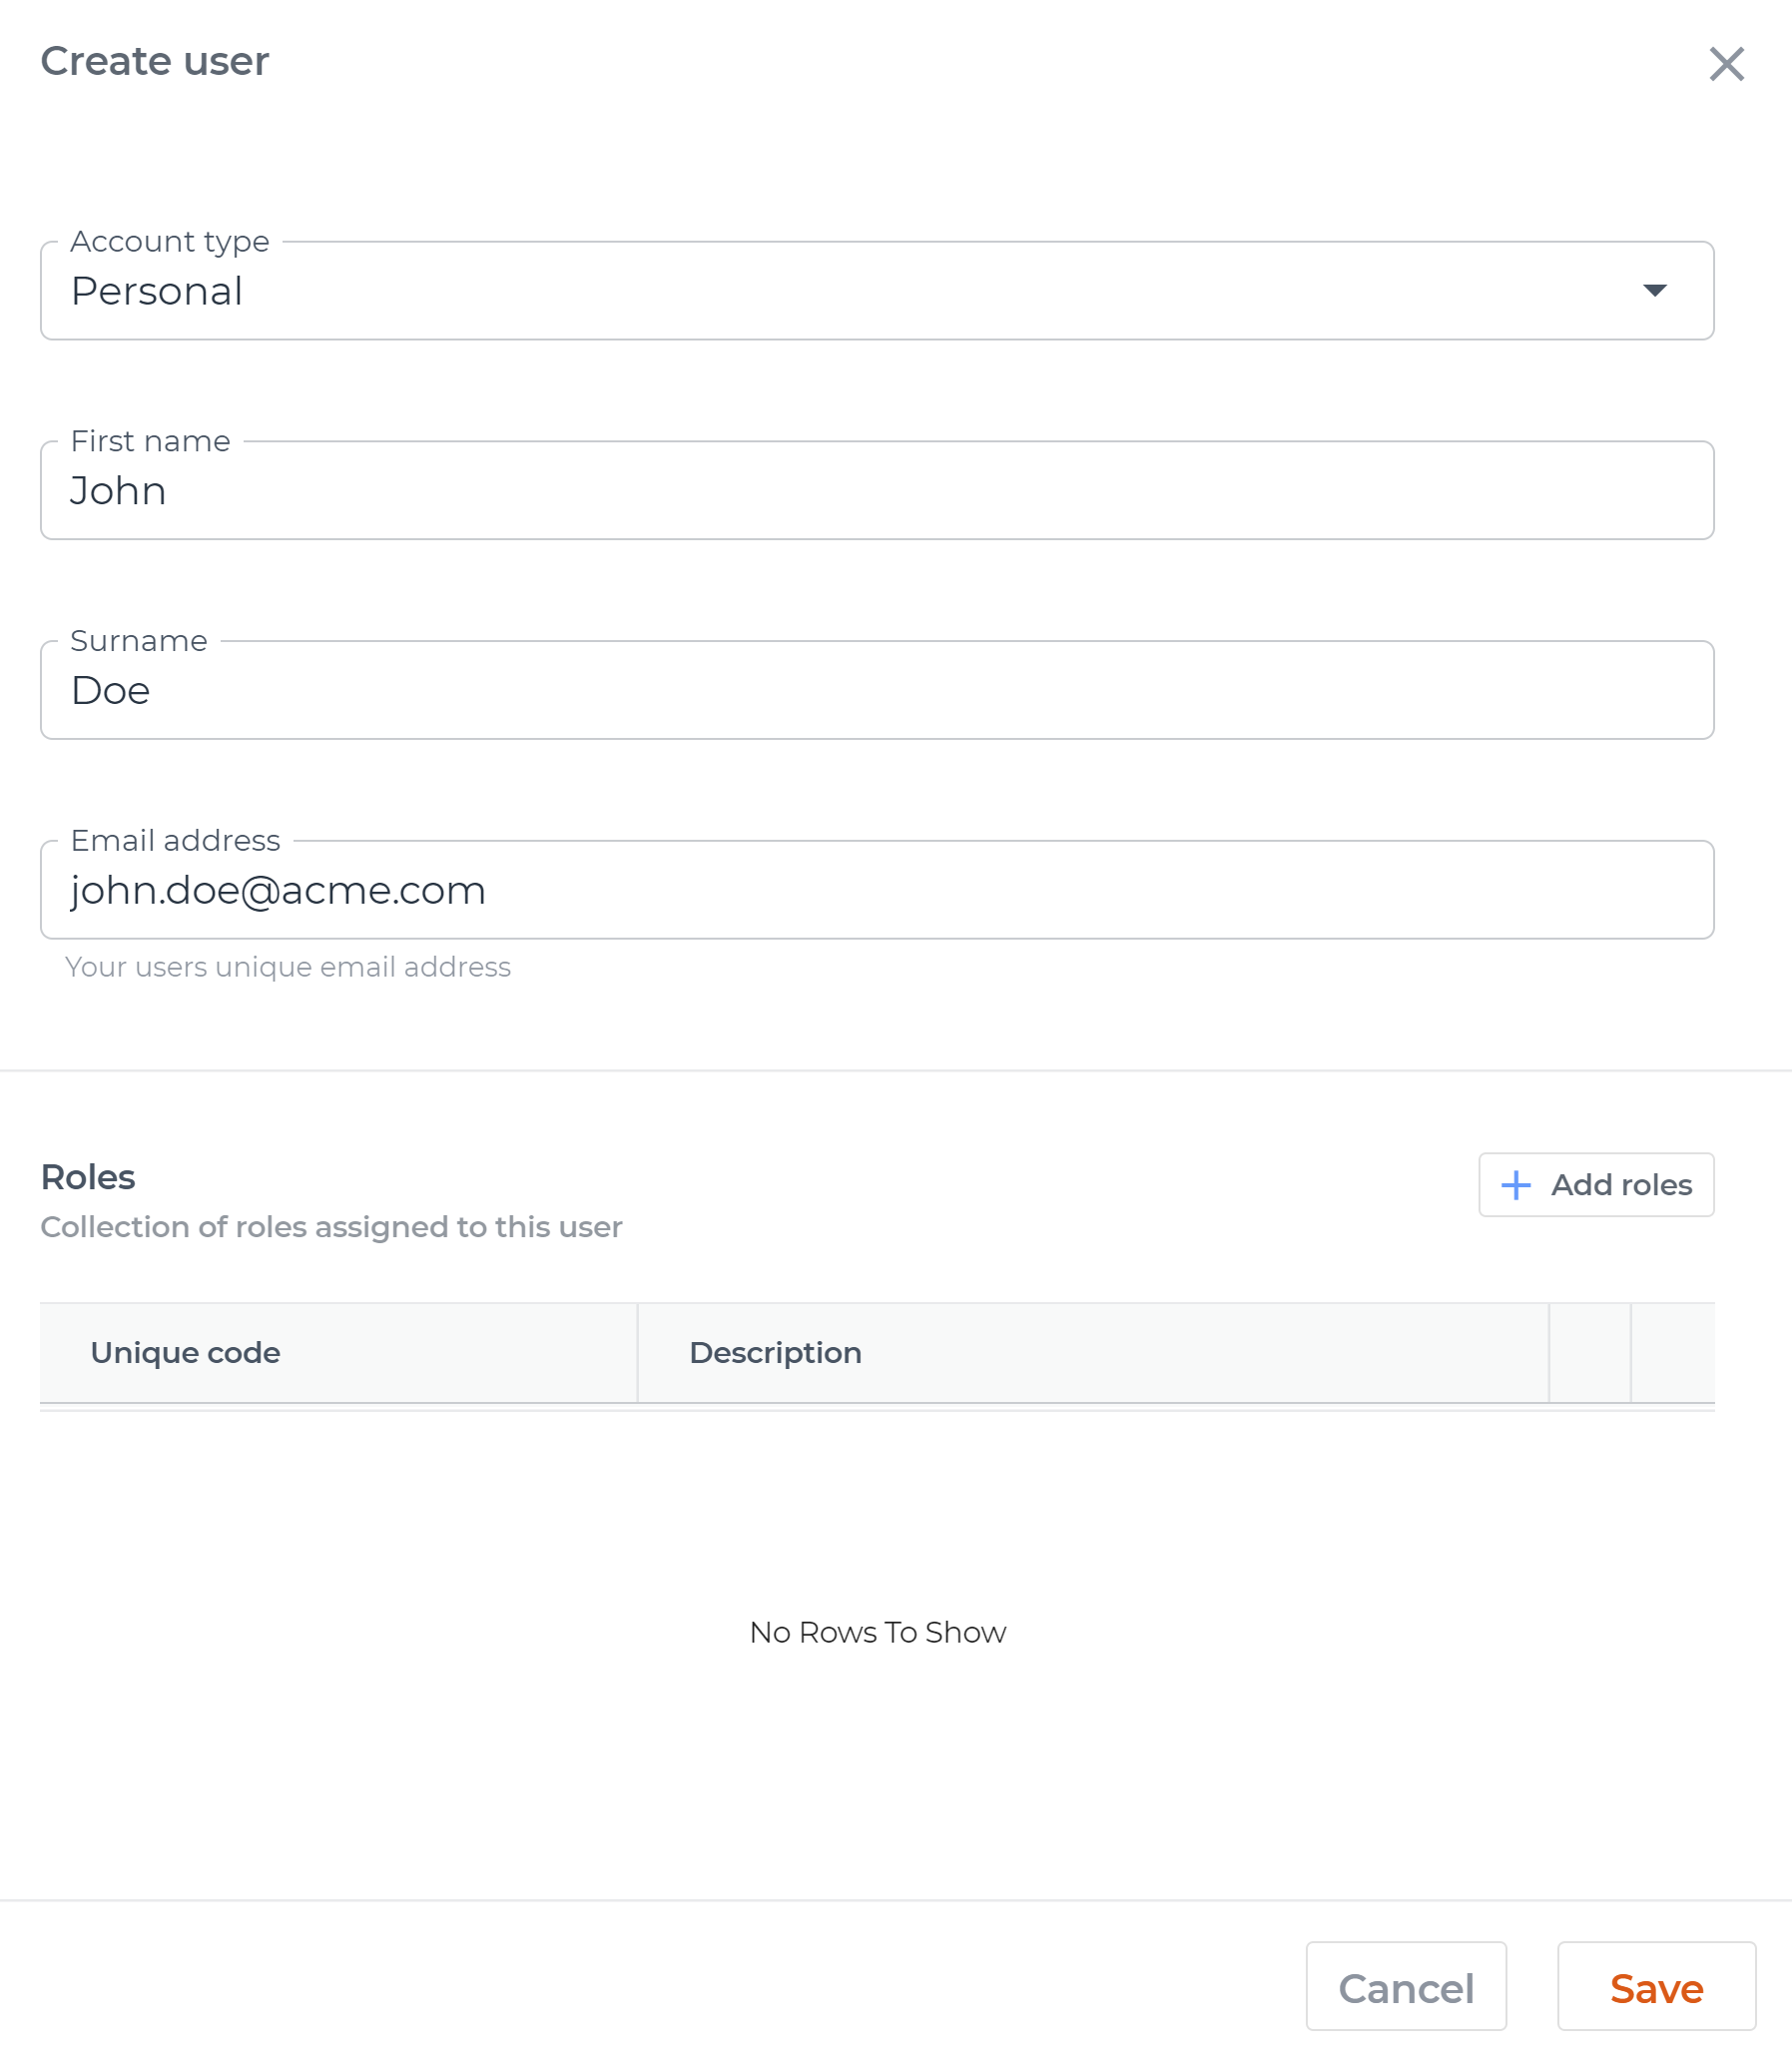
In the Create user dialog, specify an Account type of Personal and enter a valid Email address for the team member. This will be their LUSID username; it must be unique within your LUSID domain:
Giving the user appropriate permissions
Every user must have at least one role, and every role must have at least one policy granting appropriate permissions in keeping with their professional responsibilities. Without a role and a policy, a user has no access rights at all.
There are several default roles and policies provided with LUSID. The most suitable for a user exploring LUSID for the first time is the lusid-evaluator role:
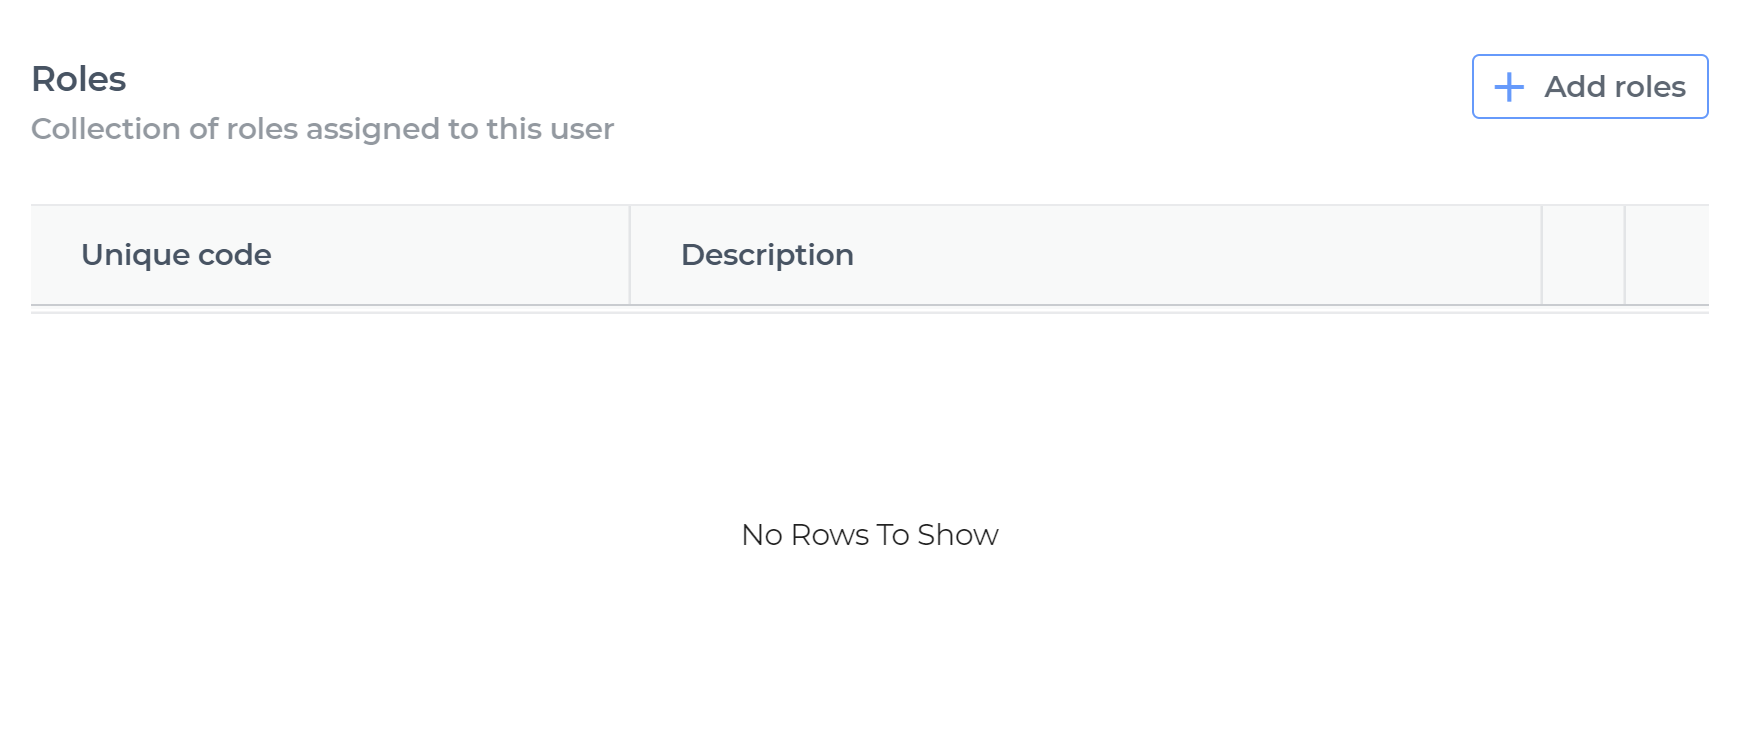
In the Create user dialog, click the Add roles button:
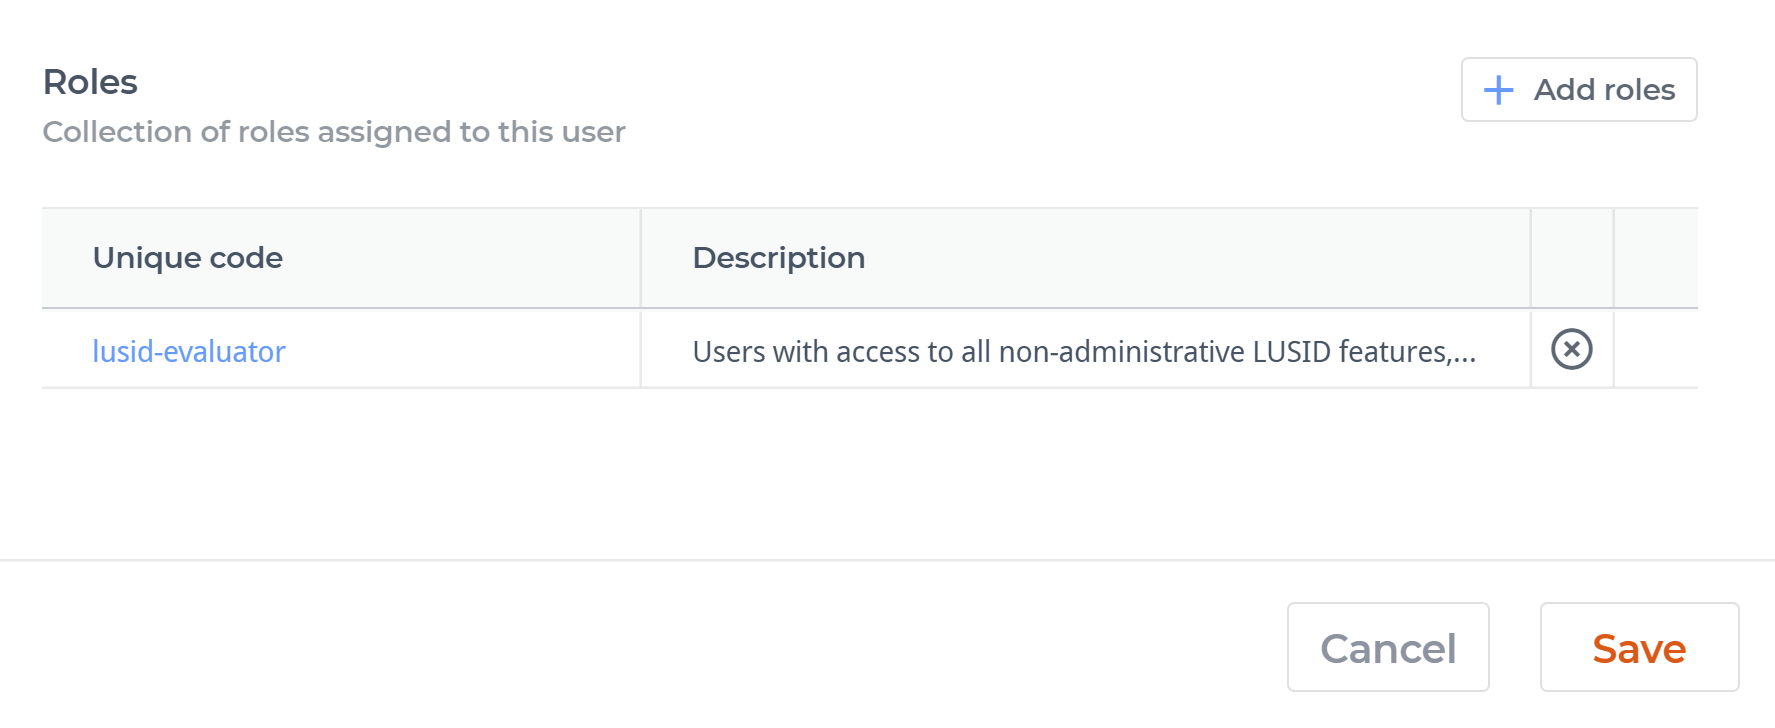
Choose the lusid-evaluator role. This grants permission to interact with all the example data provided with LUSID, including adding transactions to the default portfolios and calculating positions and valuations. However, it does not grant permission to configure system settings, nor to invite users or change access control settings, nor to monitor or troubleshoot activity:
Helping the user complete the sign up process
In the Create user dialog, click the Save button to create the user account.
Back on the Users dashboard, you should see the user has a Status of PROVISIONED:
An email is automatically sent inviting the team member to complete the setup process. If they don't receive it, you can send it again.
Tell the team member to:
Click the Activate my LUSID Account button in their email:

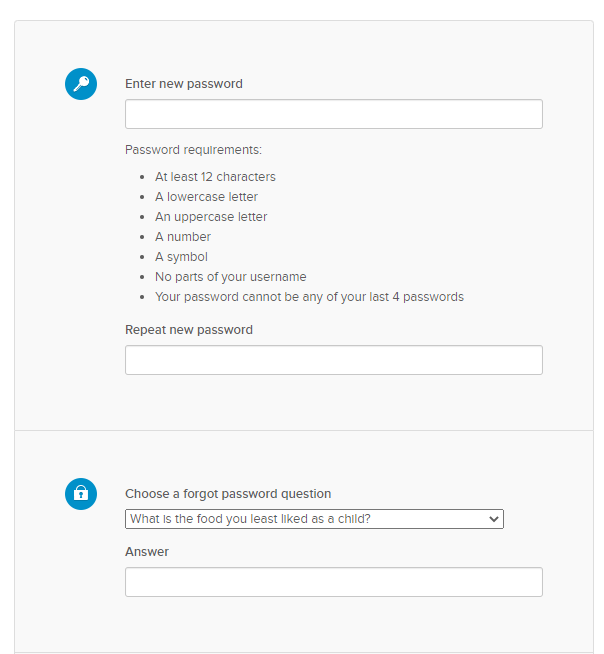
Specify a secure password and a memorable answer (this will be needed if they forget their password):
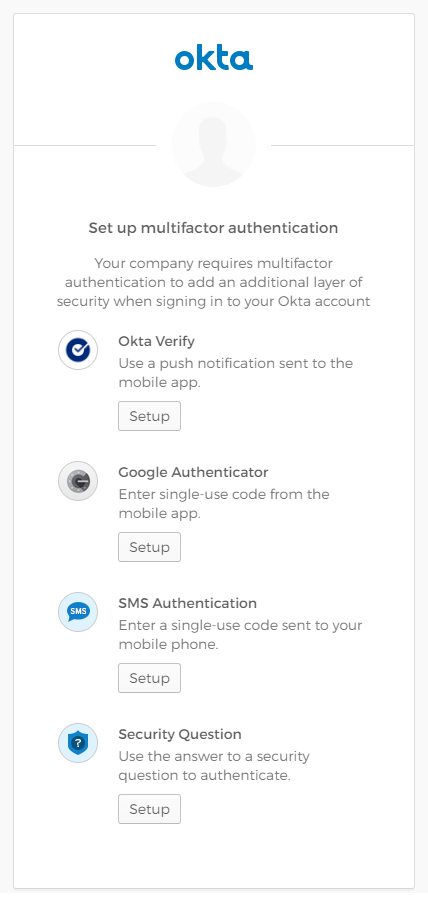
Enrol at least one multi-factor authentication (MFA) factor:
Getting the user to sign in to the web app
Now the account is created, your team member can sign in to the LUSID web app using their own account credentials.
Tell them to:
Navigate to https://<your-domain>.lusid.com/app in a web browser, for example https://acme.lusid.com/app.
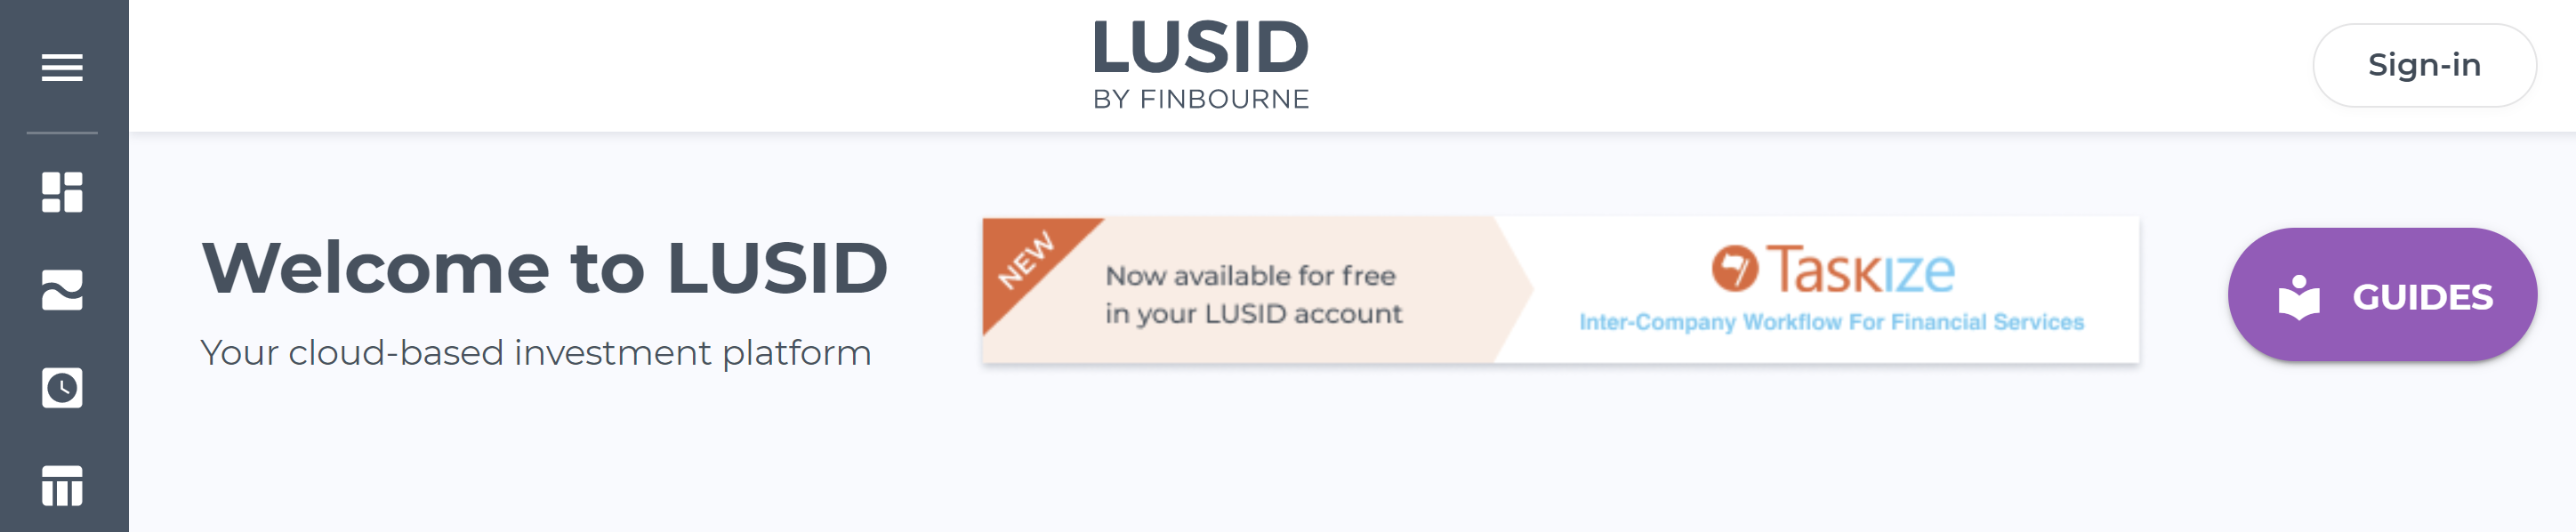
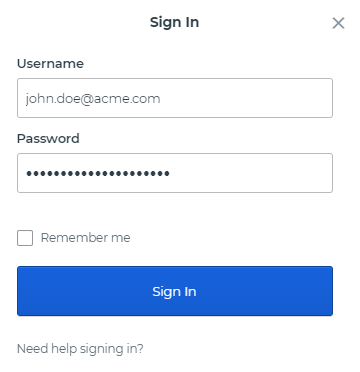
Click the Sign in button (top right):
Enter their username (email address) and password:
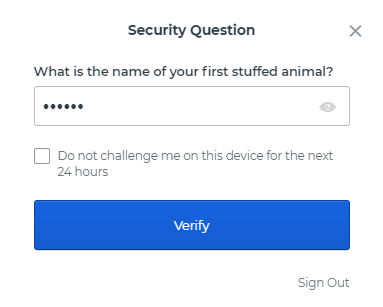
Enter the appropriate MFA credential:
Exploring functionality through the example data
For any new user, the best place to start is by navigating to the Data management > Portfolios dashboard and examining the example portfolios:
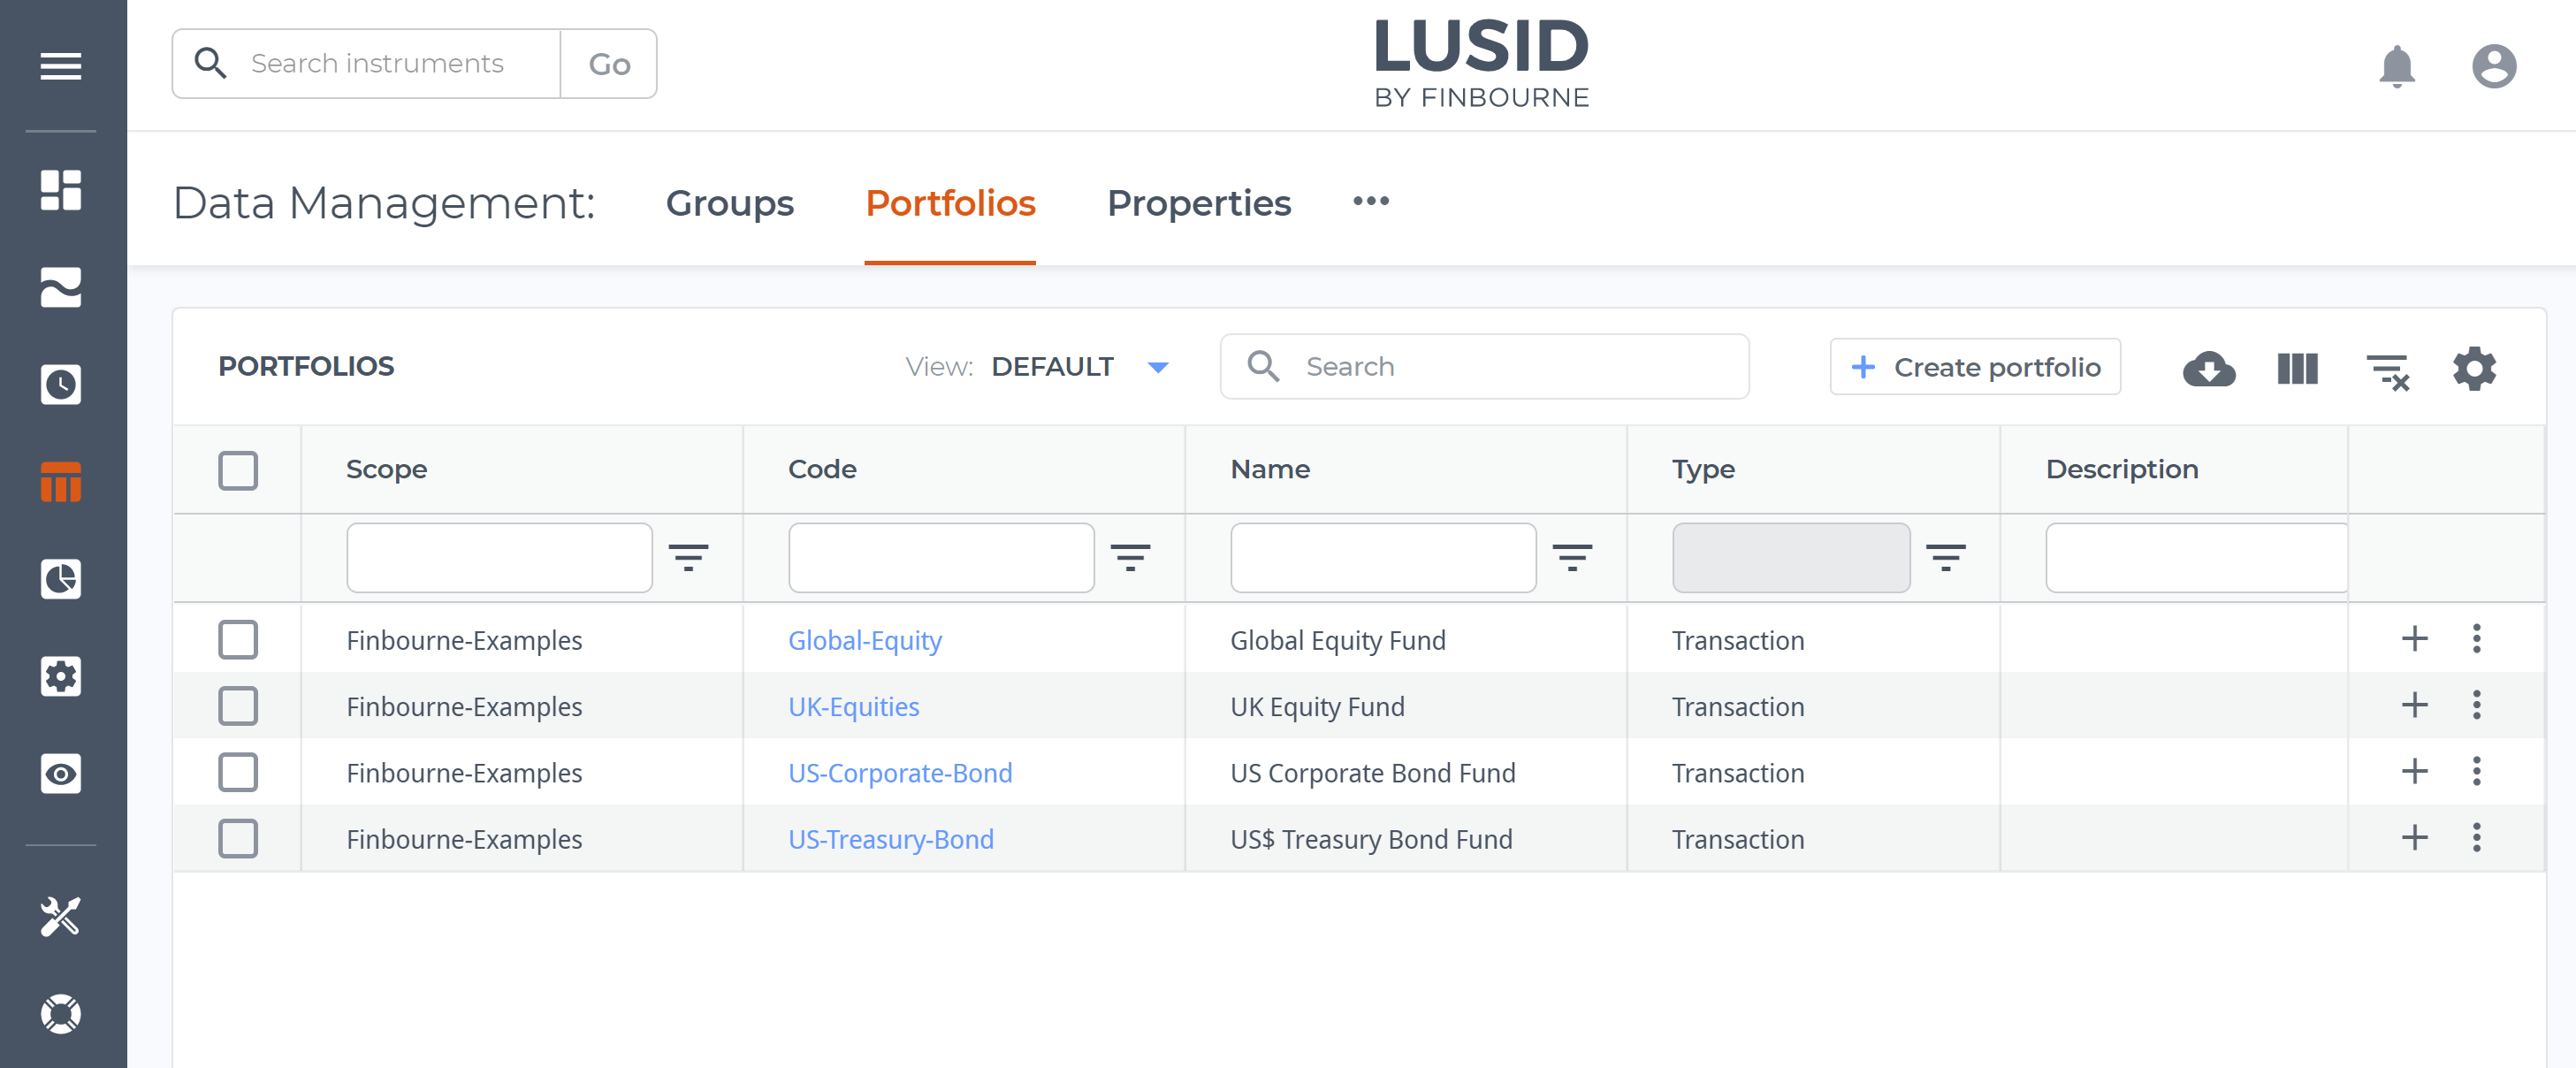
Clicking the Code link for a portfolio drills into the historical transactions registered against that portfolio. For information on all the dashboards in LUSID, and the concepts behind them, start with the Knowledge Base.
The user can also interact with LUSID programmatically:
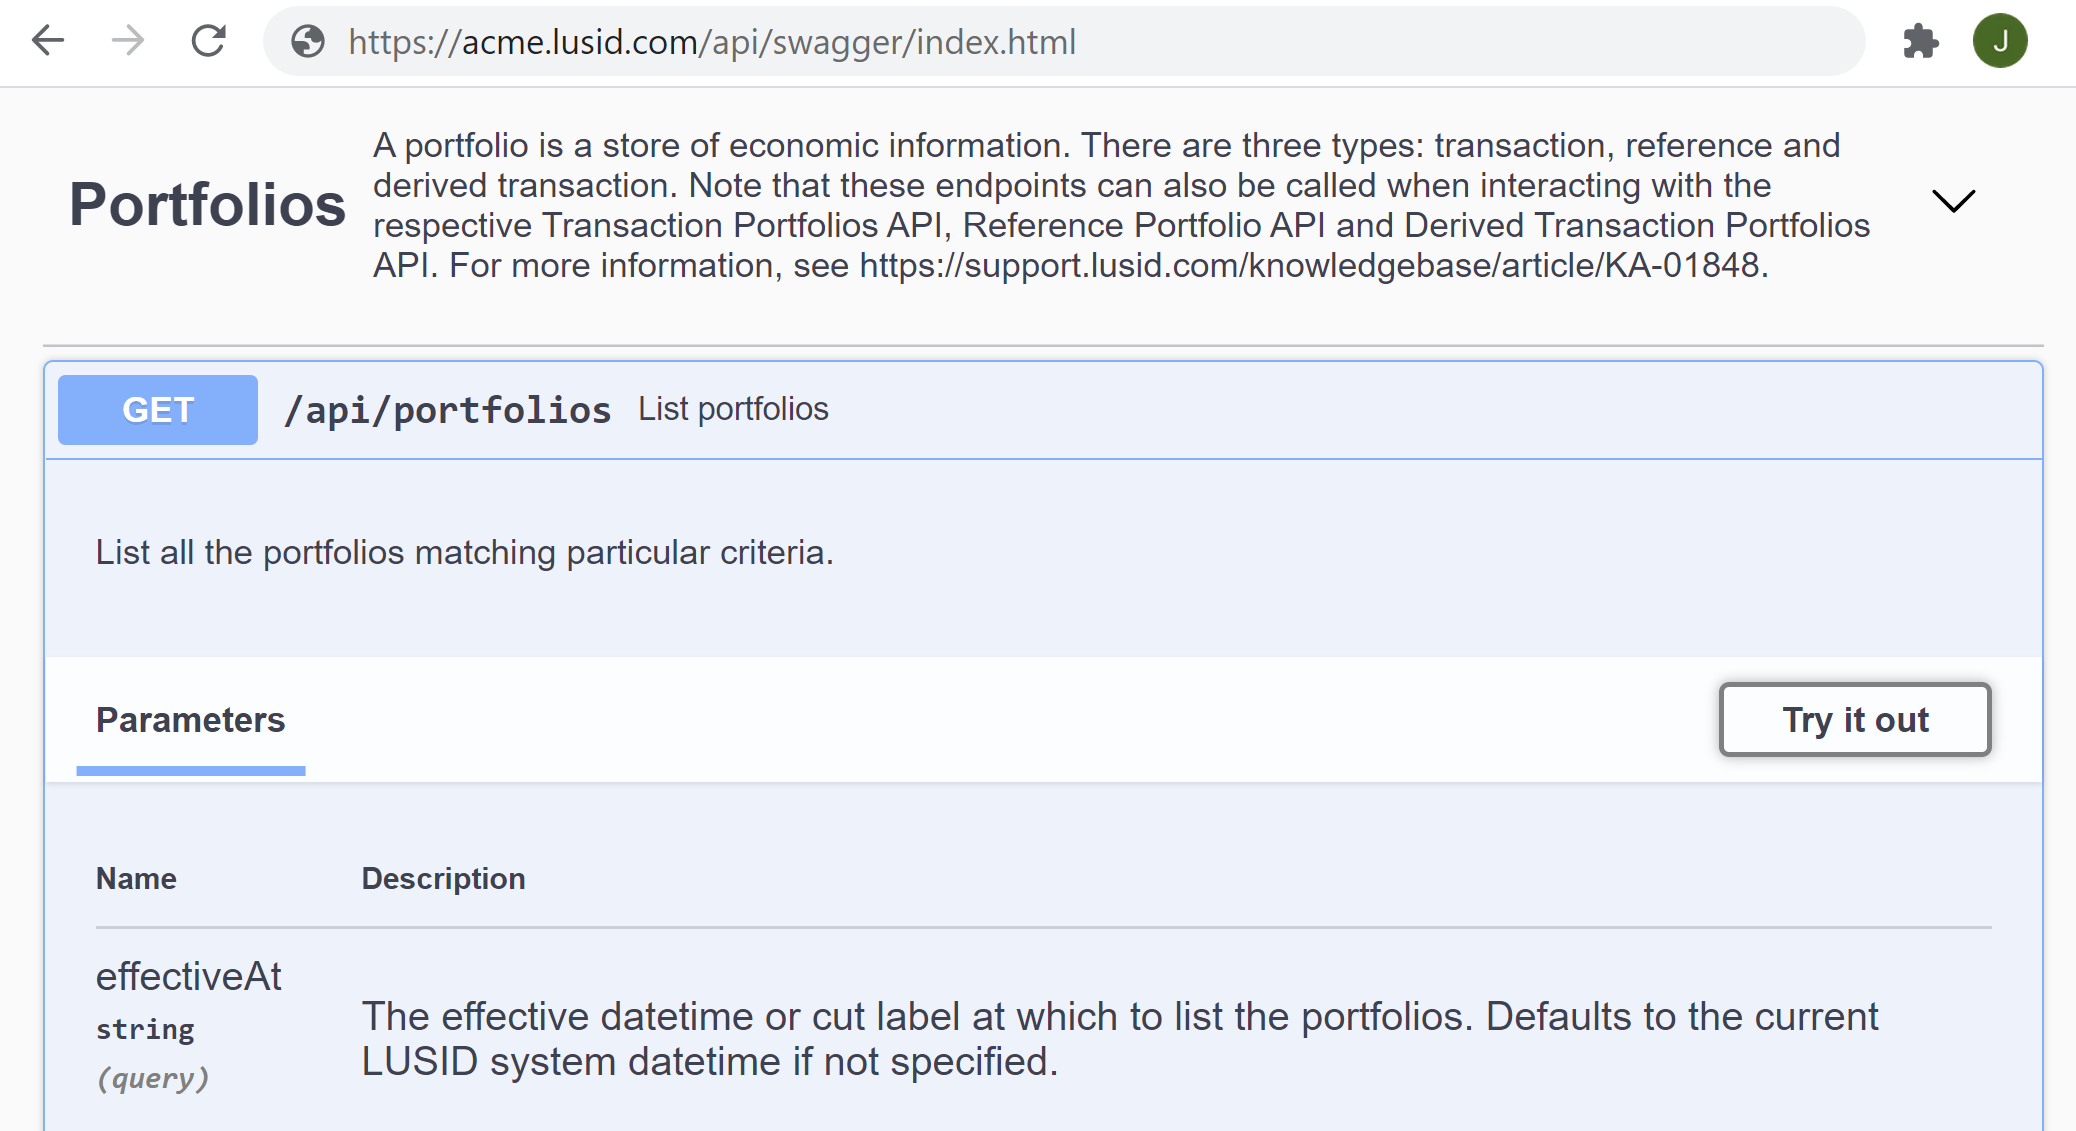
Using the REST API. To authenticate, the user will first need to follow these instructions to obtain an API access token. Note the Swagger specification hosts a pre-authenticated Try it out facility; tell the user to navigate to https://<your-domain>.lusid.com/api/swagger/index.html and click the button for an appropriate API endpoint:
Using either the Python, C#, Java or Javascript SDK. To authenticate, the user will first need to follow these instructions to assemble credentials and pass them in to the chosen SDK.